Board and Batten Layout Calculator
| Board # | Left Edge Mark | Right Edge Mark |
|---|---|---|
| Enter dimensions to generate marks | ||
The Ultimate Board and Batten Layout Calculator and Project Guide
Board and batten has transcended its humble origins as functional exterior siding to become one of the most sought-after interior design features. This timeless style adds instant architectural character, depth, and a sense of custom craftsmanship to standard drywall. Whether you are aiming for a modern farmhouse aesthetic, a traditional look, or a contemporary coastal vibe, the success of the project hinges entirely on mathematical precision.
There is nothing worse than finishing an accent wall only to realize that the gap between battens on the far left is 10 inches while the gap on the far right is 6 inches. This asymmetry ruins the visual flow and makes the project look amateur.
That is where our Board and Batten Layout Calculator and this comprehensive guide come in. We will eliminate the guesswork, explain the carpentry math using real-world numbers, and guide you through material selection and installation to ensure your wall is flawless and perfectly symmetrical.
Whether you are a professional carpenter or a weekend DIYer, using a reliable board and batten calculator is the secret to a high-end finish.
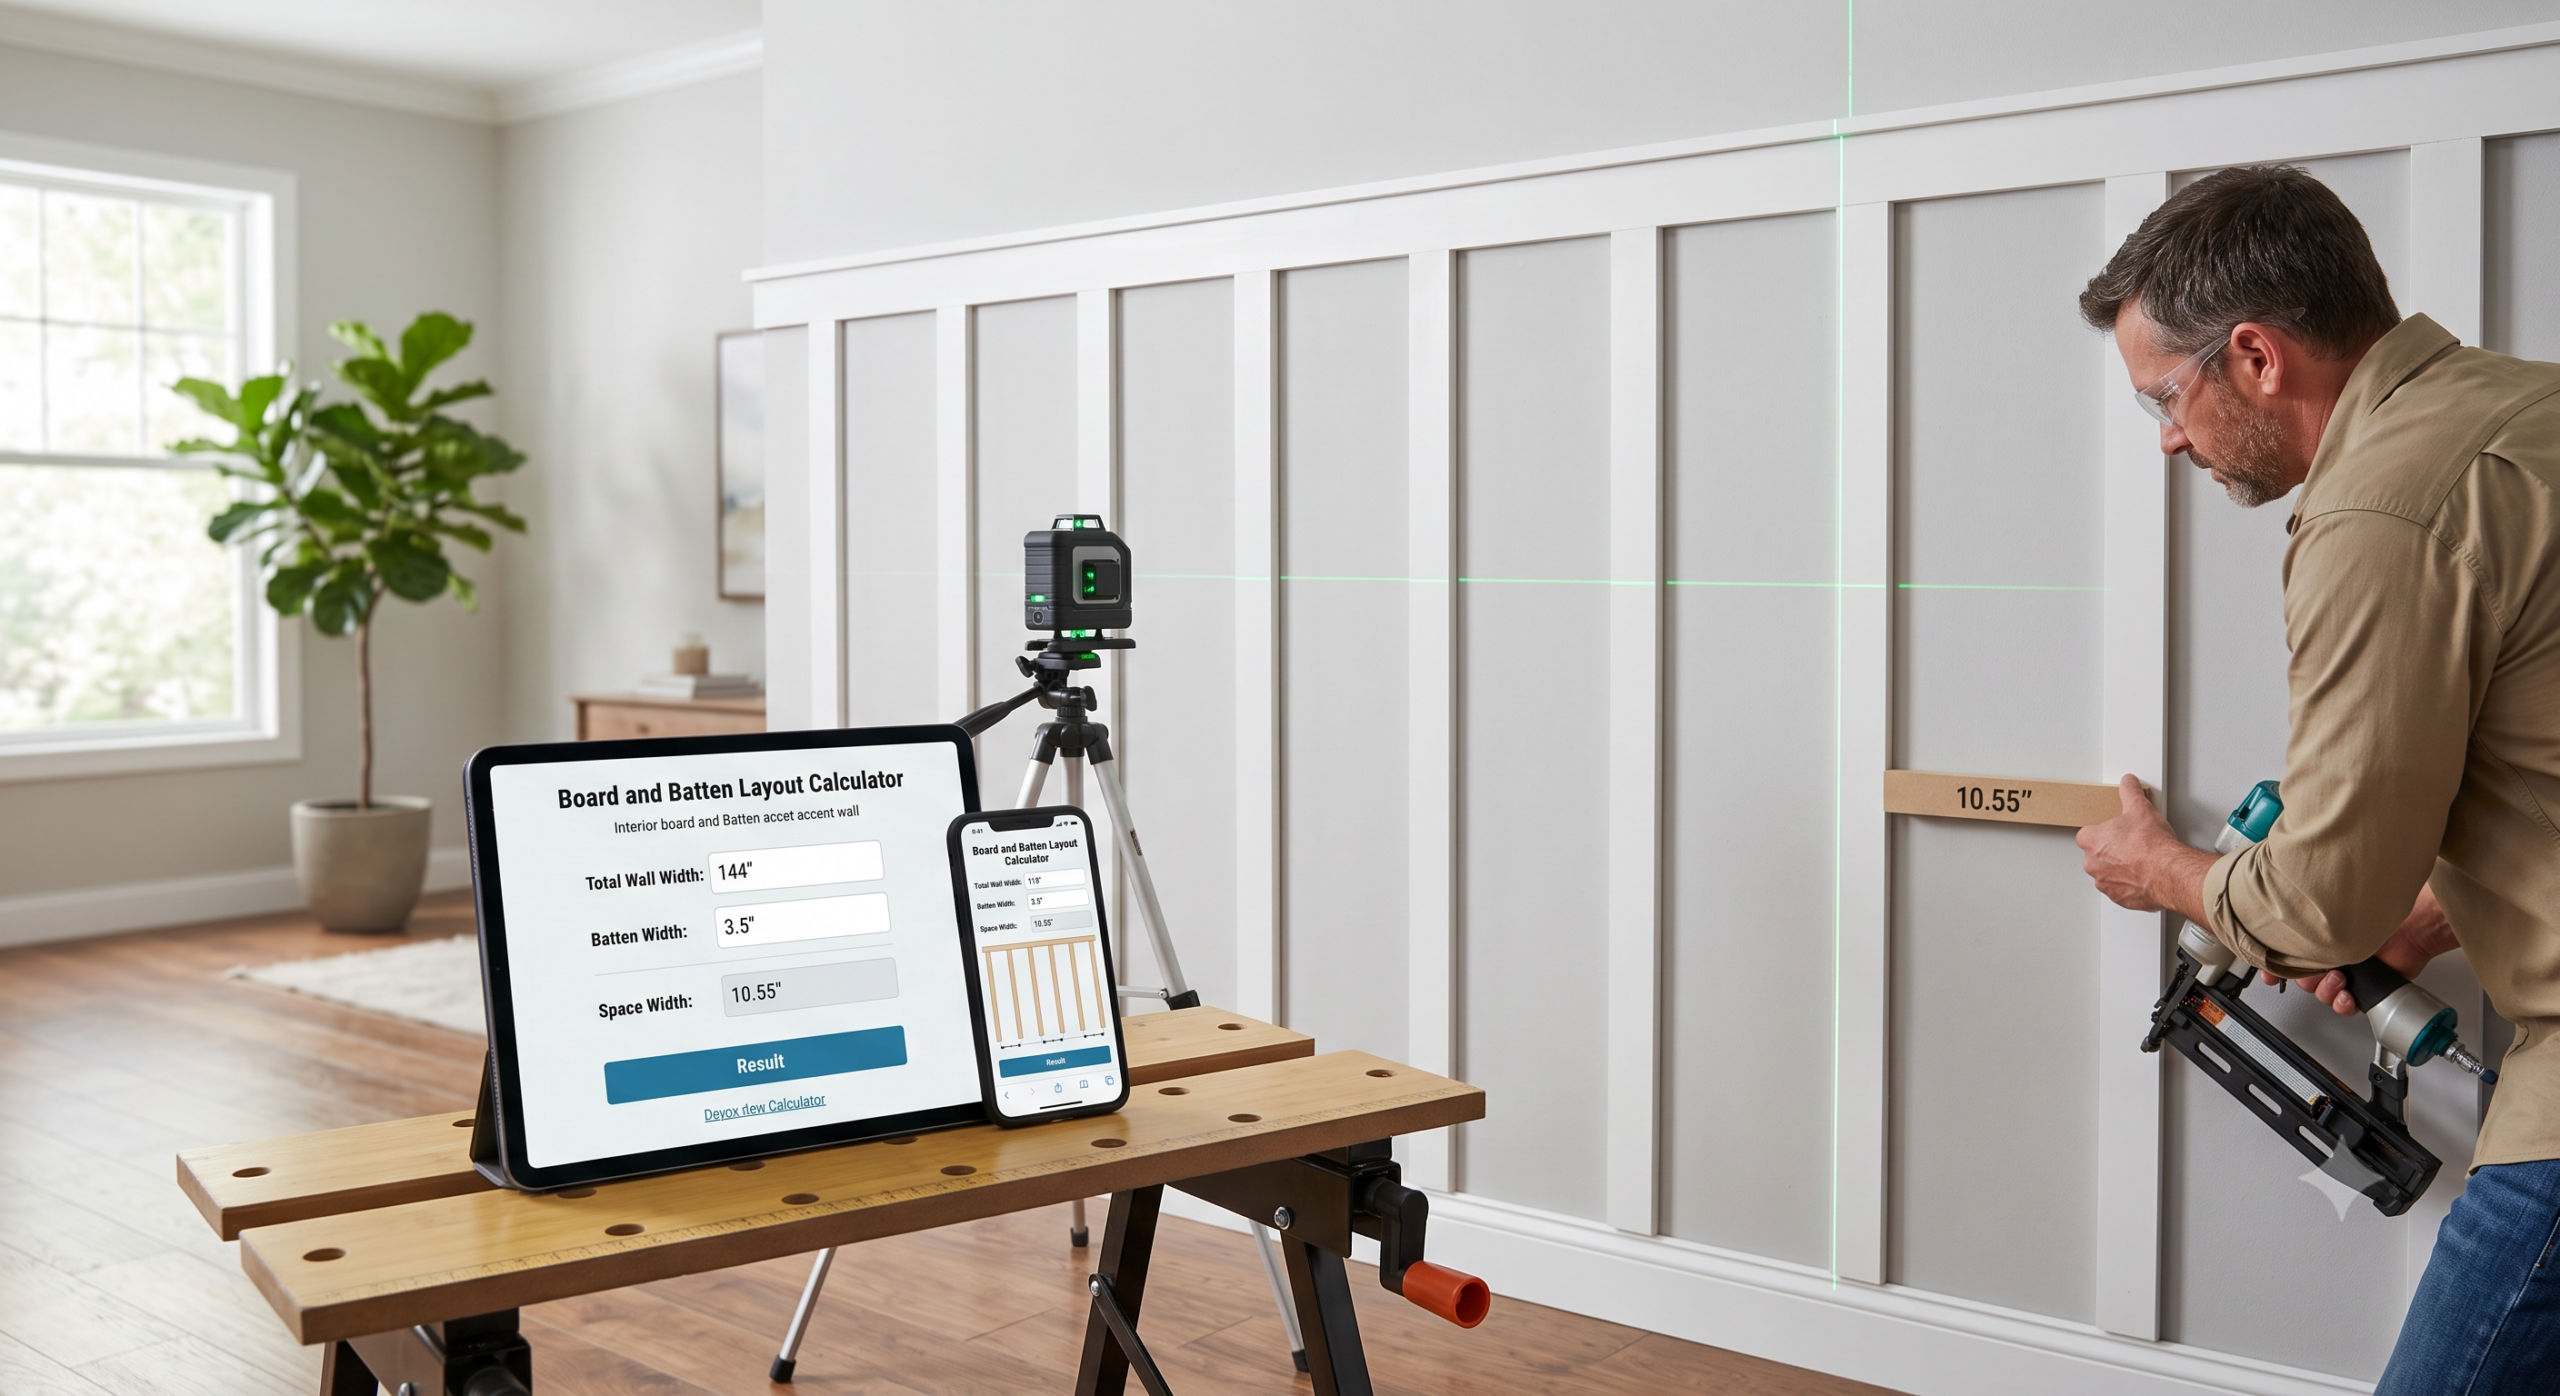
1. Board and Batten Terminology 101
Before picking up a tape measure or utilizing the board and batten calculator, it is vital to understand the structural components of a modern interior faux board and batten wall.
The Batten
These are the vertical strips affixed to the wall. In traditional exterior applications, these covered the seams between wide boards. In modern interior applications, they are typically made of MDF (Medium Density Fiberboard), finger-jointed pine, poplar, or even PVC. For interior accent walls, common batten widths range from 1.5 inches to 3.5 inches. Their thickness is usually between 0.5 inches and 0.75 inches.
The Board (The Space)
Originally, these were separate vertical planks. Today, in “faux” application, the “board” is simply the existing drywall surface visible between the battens. Painting the drywall and the trim the same color creates the optical illusion of solid wood paneling.
Top Rail
The horizontal board that runs along the upper edge of the accent wall, capping the vertical battens.
Baseboard / Bottom Rail
The horizontal board at the floor level. In many DIY projects, the vertical battens butt directly against the existing baseboard. However, for a more professional look, the existing baseboard is often removed and replaced with a flat Bottom Rail that matches the thickness of the battens and Top Rail.
2. The Board and Batten Layout Calculator
(Insert Interactive Calculator Widget Here)
How to Use This Tool:
-
Total Wall Width: Enter the width of your wall in inches (convert feet to inches first; for example, 12 feet is 144 inches).
-
Width of One Batten: Enter the exact width of your trim in inches (for example, 2.5).
-
Preferred Target Space: Enter your desired gap between battens (common targets are between 8 and 12 inches).
-
Symmetry Preference: Choose whether your pattern should End with Spaces or End with Battens.
-
Calculate: Click the button.
The board and batten calculator will immediately provide the exact number of battens required, the precise width of every single space, and a step-by-step layout of measurements to mark on your wall.
3. Mastering the Carpentry Math: Manual Calculation with Real Data
While a board and batten calculator saves considerable time, understanding the manual formula allows you to troubleshoot complex walls that contain obstructions like windows, doors, or electrical outlets.
The core challenge of carpentry layout is dealing with integers versus decimals. If you desire a 12-inch space on a 100-inch wall, standard division will not work perfectly because battens have their own width that must be accounted for.
Let’s perform a manual calculation for a real-world scenario to show exactly how a board and batten calculator achieves perfect mathematical symmetry.
Our Real Data Scenario:
-
Total Wall Width: 144 inches (a standard 12-foot wall)
-
Batten Width: 3.5 inches (using standard 1×4 trim pieces)
-
Preferred Target Space: Approximately 10 inches
Step A: Account for the “Starting” Batten
Every wall layout must establish a starting point. We assume the wall will begin with a vertical batten in the corner and end with a vertical batten in the opposite corner. To simplify the math, we “remove” the very first batten from the total width calculation.
144 inches (Total) – 3.5 inches (First Batten) = 140.5 inches remaining
Step B: Determine the “Target Section” Width
A standard “section” consists of one open space and one subsequent batten. We use our target preference here.
10 inches (Target Space) + 3.5 inches (Batten Width) = 13.5 inches per target section
Step C: Calculate the Approximate Number of Sections
Divide the remaining wall width by your target section width.
140.5 inches / 13.5 inches = 10.407 sections
We cannot install 0.407 of a section. We must round this number to the nearest whole integer.
Decision: We will install exactly 10 sections.
Step D: Calculate the Exact Section Width
Now, take the remaining wall width (from Step A) and divide it by our whole number of sections (from Step C). This gives us the exact, logically symmetrical width of a batten-plus-space combination.
140.5 inches / 10 sections = 14.05 inches for the exact section width
Step E: Find the Precise Width of the Space
Finally, subtract the width of the batten material from the exact section width calculated in Step D.
14.05 inches – 3.5 inches (Batten) = 10.55 inches
The Real Data Results for a 144-Inch Wall:
-
You need 11 Total Battens (The 1 starting batten + the 10 subsequent section battens).
-
You will have 10 Spaces.
-
Every single space must measure exactly 10.55 inches (roughly 10 and 9/16 inches).
By following this exact mathematical process, the layout is perfectly symmetrical from corner to corner, eliminating the ugly uneven end gap. This is exactly what our Board and Batten Layout Calculator does for you automatically.
4. Layout Variation: Ending with Spaces vs. Battens
The calculation above assumes a traditional layout where the pattern begins and ends with a vertical batten piece butting into the adjacent wall corners. However, depending on the architecture, you may desire a different look. Our board and batten calculator accounts for both styles.
Option A: Standard Symmetry (Start and End with Battens)
-
Formula Logic: Total Width – One Batten, calculate sections, round, solve for space.
-
Result: A visual frame on both ends of the wall.
-
Best For: Full accent walls that go from corner to corner.
Option B: Open Symmetry (Start and End with Spaces)
In this scenario, the battens do not touch the adjacent wall corners. Instead, there is an open space on both far ends.
-
Formula Logic: Treat the entire wall width as divisible by the “Space + Batten” combo, but realize you must solve for one extra space on the end.
-
Result: A softer look, where the trim seems to float on the wall.
-
Best For: Partial wainscoting where the layout needs to align visually with other architectural elements or when the wall does not meet a clean corner.
5. Board and Batten Material Selection Guide
The board and batten calculator tells you where to put the material, but choosing the right material is equally vital for a professional finish. For interior faux application, you have several primary options, each with distinct advantages.
Material Compatibility Chart
| Material | Common Uses | Pros | Cons |
| MDF (Primed) | Accent Walls, Wainscoting | Extremely smooth surface; engineered for paint; no knots; dimensionally stable; typically the cheapest option. | Vulnerable to moisture if not sealed perfectly; heavy; produces fine dust when cut; cannot be stained. |
| Finger-Jointed Pine | High-traffic areas, paint-grade trim | Lighter than MDF; holds nails better; less dust; slightly more moisture resistance than standard MDF. | More expensive than MDF; joint seams can sometimes telegraph through cheap paint; cannot be stained. |
| Poplar | High-end paint-grade trim | Tight grain pattern; very smooth when painted; harder and more durable than pine or MDF; can be lightly stained. | Expensive; hardness makes manual nailing difficult (requires pneumatic nailer). |
| PVC (Cellular) | Bathrooms, laundries, exteriors | 100% waterproof; rot-proof; insect-proof; smooth finish. | Most expensive option; limited to paint; standard wood glues do not work (requires PVC cements). |
Material Dimension Reference Table
When using the board and batten calculator, you must enter the actual dimensions, not the nominal dimensions. Carpentry wood is often sold by a “nominal” name (which is the size of the wood before it was surfaced and planed).
| Nominal Size | Actual Width (What to enter in Calculator) | Common Thickness |
| 1×2 | 1.50 inches | 0.75 inches (Pine/Poplar) |
| 1×3 | 2.50 inches | 0.75 inches |
| 1×4 | 3.50 inches | 0.75 inches |
| MDF Strip | 2.00 inches (Pre-cut) | 0.50 inches |
| MDF Strip | 3.00 inches (Pre-cut) | 0.50 inches |
6. Pro Tips for Flawless Board and Batten Installation
Mathematically perfect calculations using a board and batten calculator are the foundation, but standard carpentry pitfalls can still ruin the installation. Follow these pro tips to ensure your project looks professional.
1. The Laser Level is King
Standard bubble levels allow error to accumulate across a long wall. A cross-line laser level projects a perfectly plumb (vertical) and perfectly level (horizontal) line across the entire wall simultaneously. Set up the laser to align with your Top Rail, then use the vertical laser to place every single batten. This ensures all battens are perfectly parallel to each other and perfectly perpendicular to the floor.
2. Cut a Spacer Block
Do not measure and mark the 10.55-inch gap (from our manual calculation example) for every single space. This will inevitably lead to compounding mathematical errors. Instead, take a scrap piece of wood and cut it to exactly 10.55 inches using a miter saw. Use this “spacer block” to butt against your installed batten to perfectly position the subsequent batten. This guarantees that all 10 spaces are identical.
3. Scribe to the Ceiling or Floor
Walls in a house are rarely perfectly square, and floors are rarely perfectly level. If you are doing a full-height wall and find that your Top Rail butts against the ceiling with a gap on one end, you must “scribe” the board. This involves holding the Top Rail perfectly level, marking the ceiling’s contour onto the board, and cutting the board along that specific curved line so it fits seamlessly.
4. Adhesive Strategy
Do not rely only on brad nails. Drywall does not hold nails well, and standard 18-gauge brad nails can pull through the drywall over time. Apply a high-quality construction adhesive (like Loctite Power Grab or Liquid Nails) in a zigzag pattern to the back of every batten, Top Rail, and Bottom Rail before nailing it into place. The nails hold the wood until the glue cures, creating a permanent bond.
5. Managing Electrical Outlets
This is the single most common frustration in board and batten installation. There are three primary ways to handle an outlet that falls into a batten’s path:
-
Shift the Layout: If the Board and Batten Layout Calculator says a batten lands directly on an outlet, adjust your “Preferred Space” preference slightly (e.g., from 10 inches to 10.25 inches) and recalculate. This often shifts the entire pattern enough to avoid the obstruction entirely.
-
Notch the Batten: If shifting isn’t possible, you can carefully notch the back of the batten to “ride over” the outlet cover. This requires extreme precision with a jigsaw or router and often looks inferior to shifting the layout.
-
Frame the Outlet: Install Top and Bottom Rails first. If an outlet box falls in the pattern, remove the outlet cover and add a piece of trim horizontally just above and just below the outlet box. Butt your vertical battens against these horizontal blockers. This creates a dedicated “window” frame for the outlet.
6. The Magic of Wood Filler and Caulk
The difference between an amateur and professional finish is the time spent after the wood is installed. Fill all brad nail holes with a non-shrinking wood filler, then sand it flush. Do not use caulk on nail holes, as it shrinks when dry and leaves dimples. Use high-quality paintable caulk (like Dap Alex Plus or Sashco Big Stretch) to fill every single vertical seam where the wood meets the drywall and every horizontal joint where wood meets wood. Smooth the caulk bead with a damp finger.
7. Board and Batten Design Variations
The traditional vertical look is timeless, but social media platforms like Pinterest and Instagram have popularized modern geometric interpretations. The math in the board and batten calculator still applies; you just apply it differently.
Geometric Grid Pattern
In this design, both vertical battens and horizontal “crosspieces” are installed to create a matrix of perfect squares or rectangles across the entire wall.
-
The Math: You must use the board and batten calculator twice. First, use it on the wall’s width to find the vertical pattern. Then, use it on the wall’s height (floor to Top Rail) to find the perfect horizontal placement that creates uniform square cells.
Partial Wainscoting (Chair Rail Height)
This is a sophisticated look where the trim only covers the lower one-third of the wall.
-
Vertical Height Logic: A common designer rule of thumb is to set the partial wainscoting height at exactly one-third of the total ceiling height. For a standard 8-foot (96-inch) ceiling, the Top Rail or Chair Rail should sit at roughly 32 inches from the floor. For a 10-foot (120-inch) ceiling, set it at roughly 40 inches.
The Full Wall Symmetrical Grid
This is often used on staircases or large two-story entryways. The math must be flawless, as eyes will easily detect a square grid that slowly becomes rectangular across a long span.
More Tools:
8. Frequently Asked Questions (FAQ)
What kind of wood is best for board and batten?
For painted interior faux applications, Medium Density Fiberboard (MDF) is the industry standard. It is perfectly smooth, accepts paint well, is dimensionally stable (it will not expand or shrink like real wood with humidity changes), and is typically the least expensive option. Poplar and finger-jointed pine are also excellent options. For stained applications, you should choose a select hardwood like White Oak, Maple, or Walnut. Exterior applications require cedar, cypress, redwood, or pressure-treated pine.
How thick should the wood be?
For interior wainscoting or accent walls, 0.5-inch or 0.75-inch thickness is standard. Choose a thickness that will allow your horizontal Top Rail to butt cleanly into any existing door or window casing. If your casing is 0.75-inch thick, use 0.50-inch or 0.75-inch battens. Do not use 1-inch thick lumber, as it will stick out past standard interior door trim, requiring expensive custom modification.
Do I need a solid backer board (plywood/MDF) behind the battens?
For interior applications, no. You can attach the battens directly to your drywall, provided you use construction adhesive. Painting the drywall and the trim the same color creates the optical illusion of solid paneling. A solid backer sheet is only necessary if your drywall is extremely textured and you want a smooth surface, or for exterior siding applications where the sheathing provides structural integrity.
Do I apply the battens over existing baseboards?
For a professional, traditional “wainscoting” look, you should remove the existing baseboards and replace them with flat Bottom Rails that match the batten material and thickness. If you choose to leave your existing baseboards, your vertical battens must butt directly against the top edge of the baseboard. This works only if the baseboard has a flat top profile. If your baseboard is beveled or colonial style, you must remove it or add a transitions blocking trim.
How much does an average board and batten wall cost?
The cost is primarily driven by your material choice. For a standard 12-foot wall using pre-primed MDF, the materials (MDF strips, adhesive, caulk, primer, and paint) typically cost between $250 and $450 for a DIY installation. If you use a premium wood like Poplar or Maple for a stained application, that same wall could easily cost $800 to $1,500. Hiring a professional carpenter will add significant labor costs, often increasing the total project cost to $1,500–$3,500.
Does board and batten add value to a home?
Yes, high-quality, professional-looking trim work and custom carpentry almost always add resale value to a home. It makes a standard builder-grade house feel custom and high-end. However, poorly installed, asymmetrical board and batten with obvious gaps, visible nail holes, or sloppy caulking can actually hurt a home’s value, as a buyer sees a future removal project. Use a board and batten calculator and install with precision to ensure your project adds value.
9. Optimize Your Home with Precise Carpentry
Board and batten wainscoting or accent walls are the ultimate DIY project for adding architectural integrity to your home. By utilizing our Board and Batten Layout Calculator, you eliminate the fear of uneven spacing and guarantee perfect mathematical symmetry across your wall.
Follow our expert advice on material selection, manual math formulas, and pro-level installation tips to ensure your project is a stunning success that looks like it was installed by a master craftsman. Bookmark this board and batten calculator and use it for every room in your house!

